So this is going to be my first sig tut so bear with me

2 Tube of choice 1 close up FROM THE SAME ARTIST
I used the beautiful art work of Keith Garvey
You need the correct license to use his art work
you can purchase a license
hereThe template was made by me GS_tag template 9 you can get it
herePlugins needed
Alien skin - Constellation
Eye candy 5 - Chrome
Xero - Radiance
Soft Vignette
Porcelain
VM extravaganza - Transmission
You can google them to find
doodle brush of choice
2 Masks of choice
Im using Madelief Digiscrap Designs masks which you can get
hereThis tut was made using psp 9 but any version will work
Now on to the tut
Open my template
shift d to duplicate
close the original
canvas size I make mine 800x800 pixels so I have room for error
click on the small rectangle layer and merge down, with the big
go to eye candy 5 impact chrome
these are the settings I used

Now to the frame back
floodfill with color of choice
Now select the oval back layer
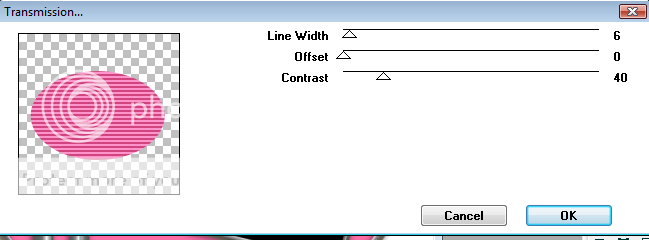
plugin Transmission
heres the settings I used
Now plugin Soft Vignette
heres the settings I used

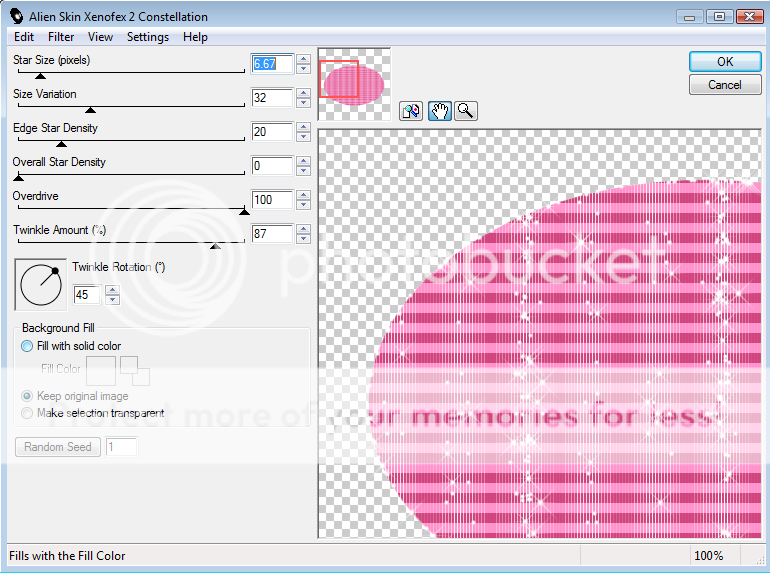
Plugin Constilation
settings
Now add 2 layers for both the masks
floodfill layers with whatever color you want
Add mask 1 to your first layer
Add mask 2 to your second layer
(I usually merge the groups when Im done so
I don't get all mixed up with the layers)
position them how you'd like them on the tag
this is what I have so far

Copy and paste your first tube
place where you'd like it on the tag
plugin Porcelain
here is my settings

plugin Radiance
here is my settings
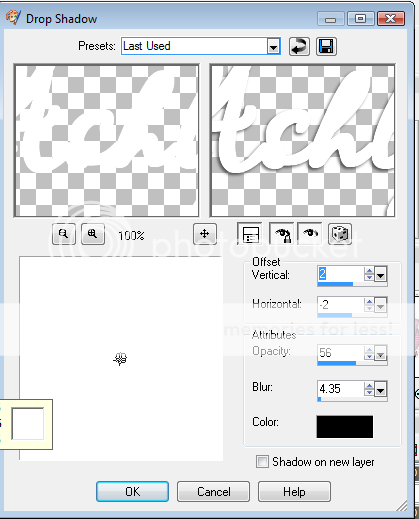
then drop shadow of choice

now copy and paste your second tube under the frame layer
line it up how you'd like it in the frame erase excess
( I usually use the magic wand in the midlle of the frame
then selection modify expand by 2 then invert delete on the tube layer )
but what evers easier for you
I did porcelain and radiance same settings on the close up tube
also put the close up tube on luminance(L)
here is mine so far

Now add your doodle brush under all the layers but the masks
add the name you want to put on the tag
the font I used is passion conflict
I also go to selection select all float modify expand
by 3 flood fill white and drag the promoted layer
under your font add drop shadow of choice here is mine

add all the correct copyright info on the tag
and Save
woohoo all done
now let me know how I did


